NavList:
A Community Devoted to the Preservation and Practice of Celestial Navigation and Other Methods of Traditional Wayfinding
Re: Bubble sextants on e-bay
From: Bill Morris
Date: 2009 Jun 7, 04:21 -0700
From: Bill Morris
Date: 2009 Jun 7, 04:21 -0700
I think Jean-Philippe and Douglas are talking about different instruments, J-P
of the A12 and Douglas of the A10 series.

J-P is correct about the A12. The bubble unit itself can also be adjusted, but
if you try, you may regret it, as you may find your instrument's reading
swinging wildly from one side to the other. Fine adjustment is not possible
by adjusting the bubble unit.

The A10 series adjustment has to start by adjusting the Veeder readout to zero
when the direct image of a distant horizon viewed past the left edge of the
fixed prism lines up with the indirect image. A grub screw attaches the
one-toothed clutch to the shaft of the counter and the latter is provided
with a screw-driver slot to make the adjustment easier. If there is side
error present, it may be removed by adjusting the fixed prism Its mounting is
provided with three Allen grub screws, which are often locked solid by
sixty-odd years of corrosion. To get at these screws and to view the direct
horizon, you have first to remove the shade that snaps on and off one of the
index prism fixing screws.

Next, the bubble must be collimated by adjusting the mirror lens at the bottom
of the bubble unit assembly up or down. This needs special wrenches, drawings
of which are given in the official manual, but improvisations are possible.
At the same time, with the instrument sighted on a distant horizon or a
horizontal collimator, the bubble is centred.

Finally, with a distant horizon and applying dip appropriately, or an object
of known elevation, or a horizontal collimator, residual index error is
removed using the single screw of the fixed prism mounting. This will
introduce some side error, which is removed by adjusting one of the pair of
other fixed prism screws.


Removal of the glasses from the A10 series bubble unit is relatively simple,
provided the bottom one is removed first. After removing the bottom locking
ring, give the unit a sharp rap on the bench top, and the bottom, plane glass
will usually drop out, as there is a generous edge clearance. There is very
little clearance for the top, concave, glass and it needs to be gently
pressed out from below using a piece of dowel or the end of a pencil. There
are several methods of refilling and resealing them, depending on type and
how permanent you want the result to be. In any case, the fluid you use
should have a refractive index close to that of glass (about 1.5), presumably
why xylene and hexane were chosen by American and British makers
respectively.

It is some time since I worked on an A12 bubble chamber, but from memory I
think they used lead washers. Since they are easy to refill,probably the best
way of re-sealing them is to use shellac. If you suspect that a bubble
chamber has been sealed with shellac, then you have to heat up the whole
chamber on a hot plate or electric iron at between 160 and 180 celsius to
melt the shellac, after which it becomes easier to undo the locking rings and
extract the glasses!

Seized A10 index prism shafts can be very difficult to deal with. The shaft
is, I think, of brass, while the bearing seems to be of white metal, which is
an alloy mainly of tin with a little copper and lead added. As the A10 is
notorious for seizing, I surmise that the combination is a poor one. Warmth,
time and a good penetrating compound should always be used first, as the
white metal is a little plastic and it is possible to distort it by heavy
hammering and pressing. You are lucky indeed if the shaft just slides out of
the bearing when pressed. My experience is that the seized bearing gives way
with a loud bang and is then found to be a little proud of where it should
be, so that the worm and sector no longer run together properly. The bearing
then has to be coaxed back into shape. A functioning instrument can be
obtained following this, but you need to be fairly well equipped.

It is essential that the anti-backlash spring is correctly repositioned and
the assembled bearing adjusted so as to allow it to work while leaving no end
play. There is a trick to this. Hint: use a loop of button thread to wind up
the spring before repositioning the index prism shaft.


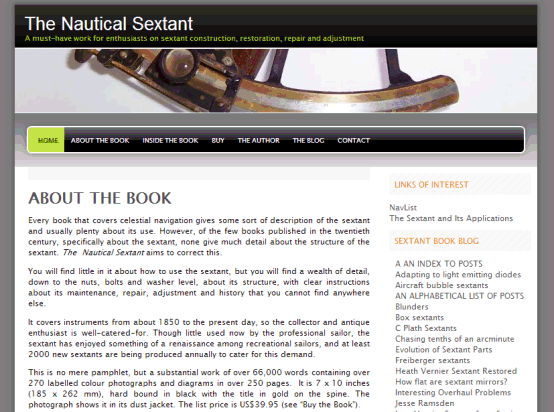
Perhaps I may be allowed a plug for my A10/A10A Restoration Manual, which
gives a more detailed account of fixing the instrument in an e-book of 100
pages and 104 labelled figures, along the same lines as my Mark IX series
Reconditioning Manual. Details may be found in my blog at
www.sextantbook.com.

Bill Morris
Pukenui
New Zealand


--~--~---------~--~----~------------~-------~--~----~
Navigation List archive: www.fer3.com/arc
To post, email NavList@fer3.com
To , email NavList-@fer3.com
-~----------~----~----~----~------~----~------~--~---

