NavList:
A Community Devoted to the Preservation and Practice of Celestial Navigation and Other Methods of Traditional Wayfinding
From: Gary LaPook
Date: 2018 Jan 25, 03:43 -0800
I have had several private messages about the use of the Polhemus computer and since my response might be useful to others I am posting it here.
There are some simple additional marks you can put on the Polhemus that are quite useful.
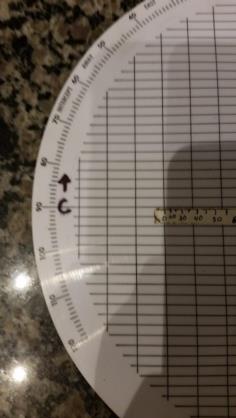
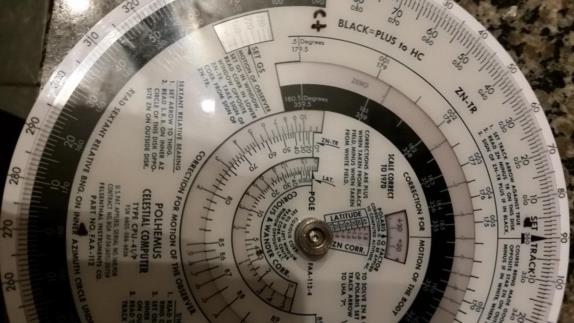
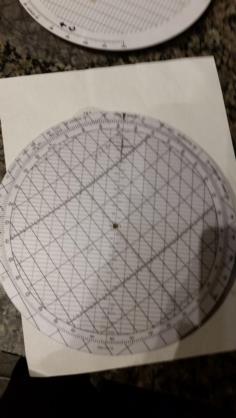
1. On the face of the Polhemus I placed a “ C + ” at the 9 o’clock position and a “ C - ” at the 3 o’clock position. The device gives you a method for calculating the Coriolis correction and applying it to the individual sights and these marks tell you the sign of the correction as applied to Hc in the northern hemisphere. By adjusting the Hc this way the resulting intercept will move the LOP to the right as required in the northern hemisphere. See attached images p3 and p5.
2. The face also has a “Q” correction scale for use with sights of Polaris but this scale was based on the position of Polaris in 1970 so is no longer accurate 50 years later. Although you can disassemble the device and place an updated scale based on the current “Q” scale in the current HO 249 or the current Air Almanac this is not necessary because there is a much easier way to calculate the “Q” correction by using the reverse side of the device. Note, that the scale on the Polhemus differs from the “Q” correction tables in HO 249 and the AA in that the signs are reversed since the correction is to be applied to Hc (as is the normal flight navigation process) while the scales in the books have the sign for applying the correction to Ho. Hc is really easy to compute for Polaris observations since it is simply your assumed latitude. The advantage of doing it this way is that you can adjust fixes, that include Polaris, to a common time by use of the MOO scale.
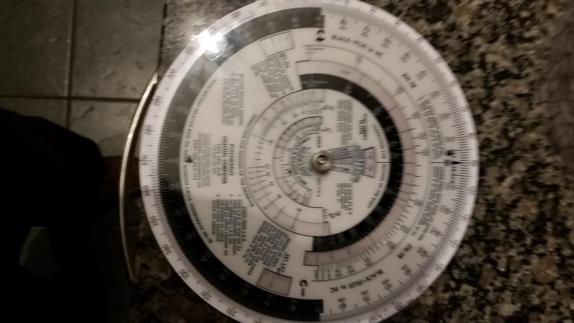
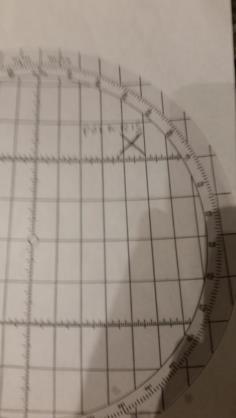
3. The simple way to find the Coriolis correction is to flip over to the back and place a big ‘X” on the plotting disk to represent the current Position of Polaris, see: p7, 8 and 9. Find the current declination for Polaris, which is 89 20’ meaning the maximum correction is 40 minutes, the distance Polaris is from the Pole. To figure out where to place the mark on the disk the you can calculate if from Polaris’ LHA or, easier, just look at the current “Q” table in HO 249 and locate the LHA Aries where the correction is zero. Looking that the “Q” table in HO 249 shows that the correction is zero between 312 and 313 and we use this information to place the marking on the plotting disk. We place the disk on the base and turn it so that 313 is aligned with the “90” mark at the 9 o’clock position on the base. We need a correction of 40 but the scale doesn’t go that far so divide the correction in half and then go up from the center to the “20” line on the base and place the “X” at that intersection. Now turn the disk and try several settings of LHA Aries and you will see that it creates the proper values for the correction. If the mark is up then the correction to Hc is plus and if down then the sign is negative.
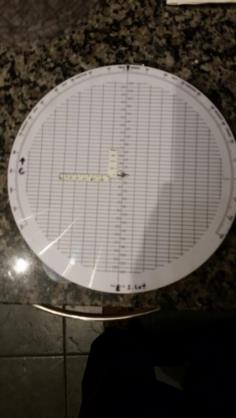
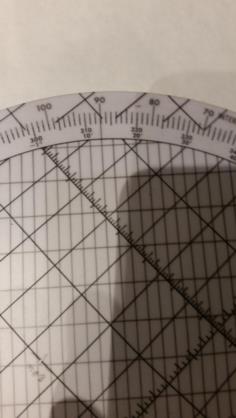
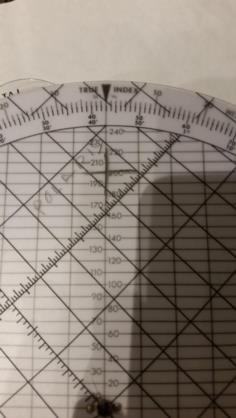
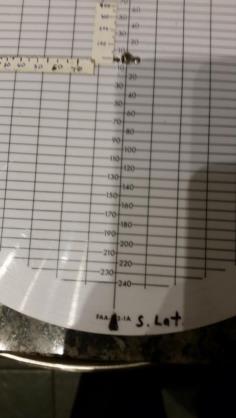
4. Look at p1 and p2 and see some additional marks. At the 6 o’clock position I place and index to use for azimuths when in the southern hemisphere. At the 9 o’clock position I place a “C” with an arrow pointing up. So if you use the alternate method for dealing with Coriolis by moving the AP or the resulting fix. Simply place the track at this “C” index and then displace the AP or fix upward the required distance. This is for use in the northern hemisphere.
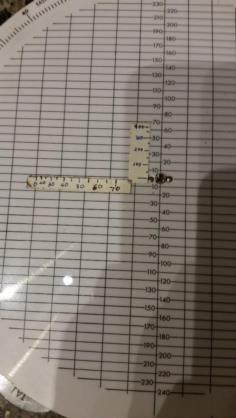
5. The last modification I made was to place a latitude scale and a ground speed scale near the center. See; p4. Calculate the latitude scale, 15 miles times the cosine of the latitude since, at the equator, objects move 15 nm each minute and lesser at higher latitudes. So using a piece of mailing label for the scale against the vertical scale, place the marks at the correct distances This scale is used to calculate the “motion of the body” correction. Next make a similar scale for the ground speed of the plane based on the miles covered in one minute, 60 at the “1” line, 120 at the “2” line. Etc. These two scales graphically compute the combined MOB and the MOO corrections quicker than using the scales on the front and much quicker than using the tables in HO 249. This uses a modification of the method shown in the FAA flight navigation manual which utilized the E-6B but has a larger scale so can be more accurate. First, set the disk to 360 at the index and place a plus mark on the appropriate latitude. Then turn the disk to place the track at the index and place a dot surrounded by a circle at the ground speed. Now to find the combined MOB and MOO correction simply set the Zn at the index and the combined correction is the vertical distance between the two marks. For example, let’s say the plus mark is at the 10 line above the center pivot and the dot at on the line 30 line below the center then the combined correction is plus 13. The sign of the correction, as applied to Hc, is plus if the “+” is higher than the “.” And negative if the “.” Is uppermost. If they are at the same level then the combined correction is zero.
