NavList:
A Community Devoted to the Preservation and Practice of Celestial Navigation and Other Methods of Traditional Wayfinding
From: Francois Tremblay
Date: 2022 Mar 2, 16:23 -0800
I know this post is a bit old, but I really wanted to thank the author and this forum for giving me the inspiration for building a mirror artificial horizon. I thought I would share my design, which is a little different, but based on the same principle.
I have been sailing for a long time but I’m quite new to celestial navigation. Just passed my Celestial Navigation Certification with Sail Canada. I’ve been using a Davis artificial horizon (with water, oil, molasse, etc.) with great results for the sun and the moon, but I find it hard to use it for stars and planets. The reflection is just not good enough. I also find molasse and oil a little messy.
One can find commercial artificial horizon devices (Freiberger) on the Internet, but they cost around US$700. Almost as expensive as the sextant (I use an Astra IIIb).
After seeing this post, I decided to build my own device. I ended up spending around $100 including the transport case and the level. The most expensive item was, in fact, the Starrett cross-level (around US$60). But I will use this level for other things in my shop anyway.
The case is an old cutlery chest that I got for $3 at a flea market.
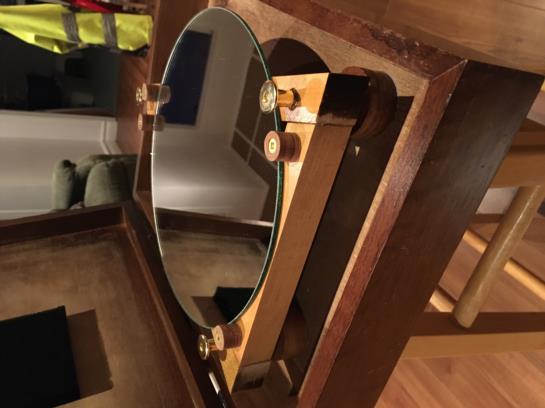
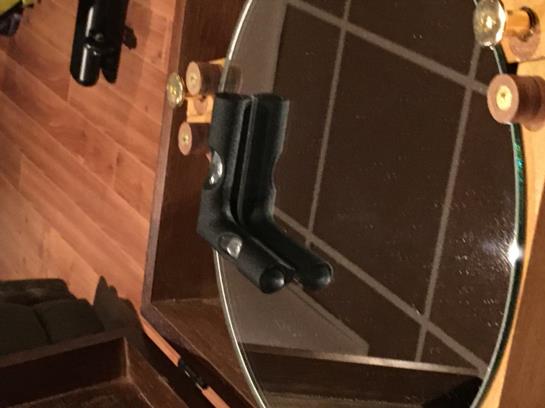
The mechanism and the frame can accommodate a round mirror up to 9 inches or a rectangular one up to 8” X 9”. The round mirror just sits between four little wood stoppers. A black foam square secures the mirror when the lid is closed.
The quality of the mirror is important. The first mirror I tried would compress the sun vertically by 5 to 10 degrees at low angles. It induced errors of 30 nautical miles. The second mirror was a very small one (around 5 inches in diameter). The error was very small, less than 3 nautical miles, but the mirror was way too small. Today I had a 9-inch mirror made (the one on the photos) and I will be testing it in the next days, when the sky clears up.
That being said, the precision of the mirror is not a major concern for me. My goal is to practice and develop my skills in reading the sky and taking stars and planet sights. I can live with an error, especially if the error is constant.
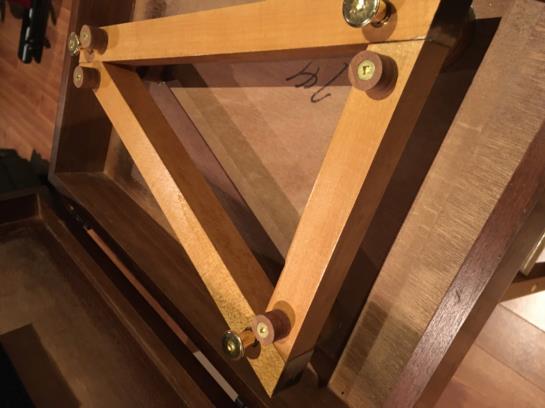
The adjustment mechanism includes three brass screws with brass insert nuts mounted in the wood triangular frame. The tips of the screws are inserted in brass bit holders glued into wood supports at the bottom of the case. This way, they can rotate freely while being firmly held vertical.
It took me around 10 hours to carry out this project, including the time I spent going back and forth to the hardware store. While not difficult, it requires a minimum of tools: a drill press, a belt-sander, a compound miter saw, a caliper. The most important aspect is the verticality of the three screws. The screw inserts in the triangular frame must be lined up precisely. I used a two-component epoxy for everything I had to glue.
If I were to do it again, I would try to find a wooden box with a lid I can put away completely. It would make it easier to shoot stars at different azimuths without rotating the box itself and having to level the mirror again. It’s not a major problem since I can always take the rig out of the box and set it on a table.
I will be testing this artificial horizon intensively in the next few weeks. I will be back with some results!
Francois
